How I got into 3D printing
One month ago, I decided I wanted to pursue industrial design as a Hobby. I thought learning CAD and using a 3D printer would give me a solid foundation for prototyping. I had zero idea about the 3D printing world and asked on Twitter for some advice.
One month ago, I decided I wanted to pursue industrial design as a Hobby. I thought learning CAD and using a 3D printer would give me a solid foundation for prototyping. I had zero ideas about the 3D printing world and asked on Twitter for some advice:
I'm looking into 3D printers. I want to learn CAD and design objects; hence I think it's time to start.
— Fatih Arslan (@fatih) May 2, 2022
People recommend the Prusa i3 MK3S+ as a good beginning in terms of quality/reliability. What do you think? Any good blog post/YT videos would also be excellent.
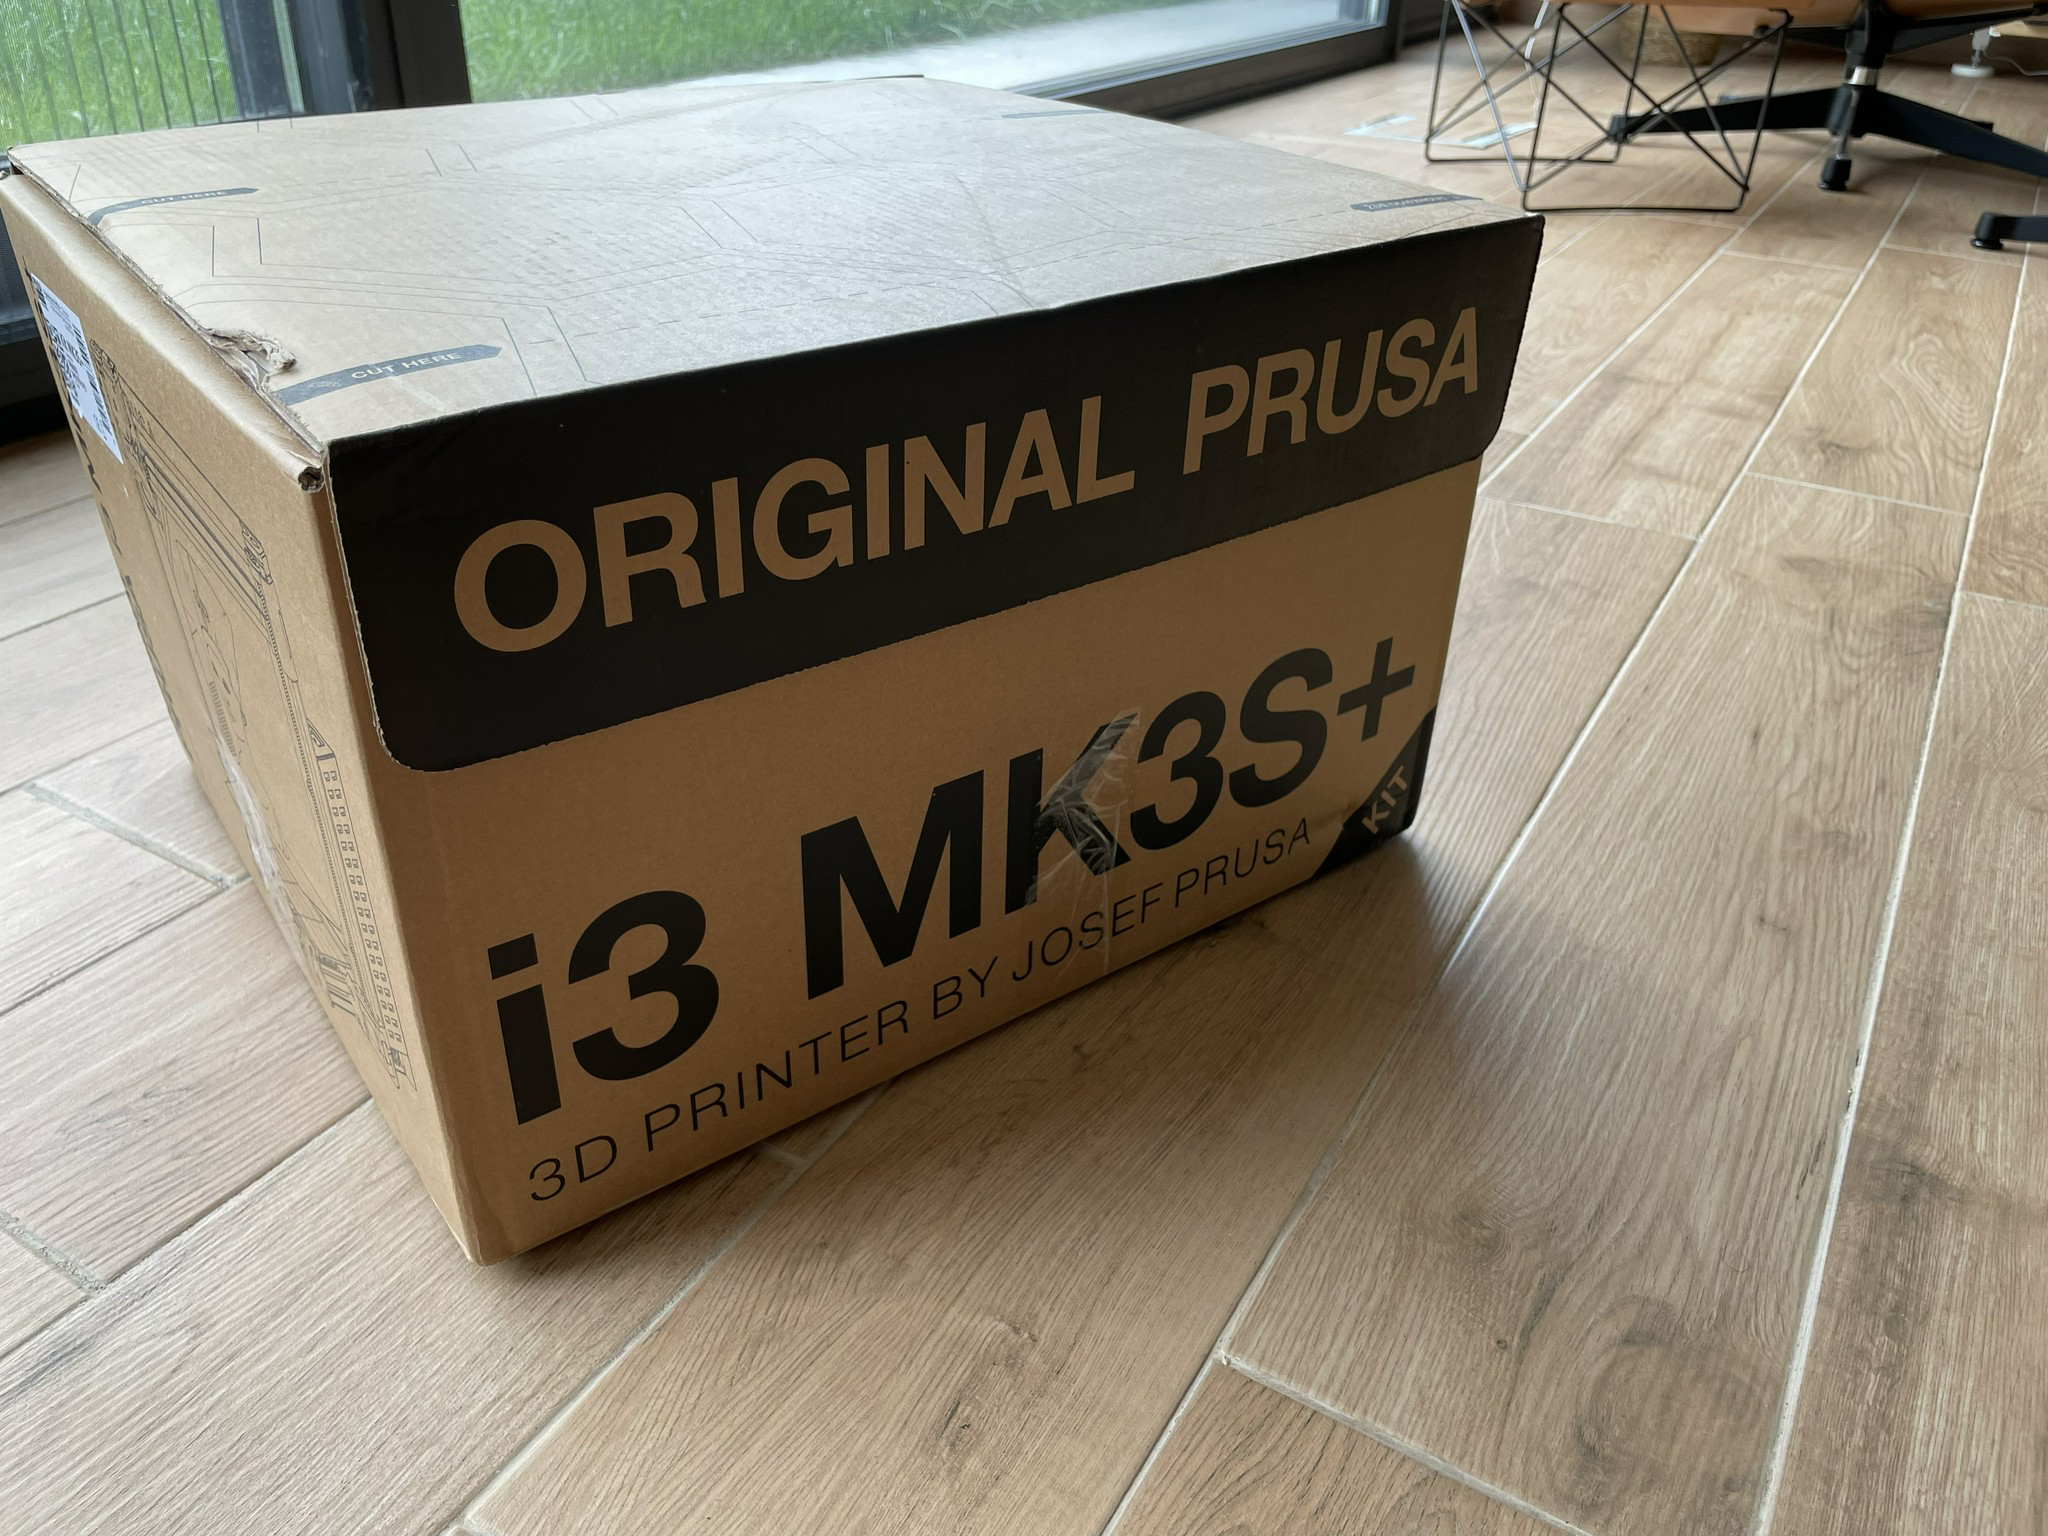
As I thought, many people have suggested the Prusa i3 MK3S+ as a perfect beginner 3D printer. Its print quality was even on par with more expensive printers. It comes in two different versions, assembled and unassembled (called the: kit version, which is also cheaper).
The kit version is weird, you assemble everything from scratch, and some, if not most, of the parts, are 3D printed. It takes around 18-24 hours (it took two days for me) to build it. During the process, you'll learn almost everything about the operation of a 3D printer.
Is it worth it assembling it?
- Yes, if you're interested in 3D printers and their inner workings.
- No, if you don't have time and you're only interested in prototyping
The kit version is also 25% cheaper than the assembled version, which is a great price. I decided to go with the Kit version, as I wanted to understand how a 3D printer works.
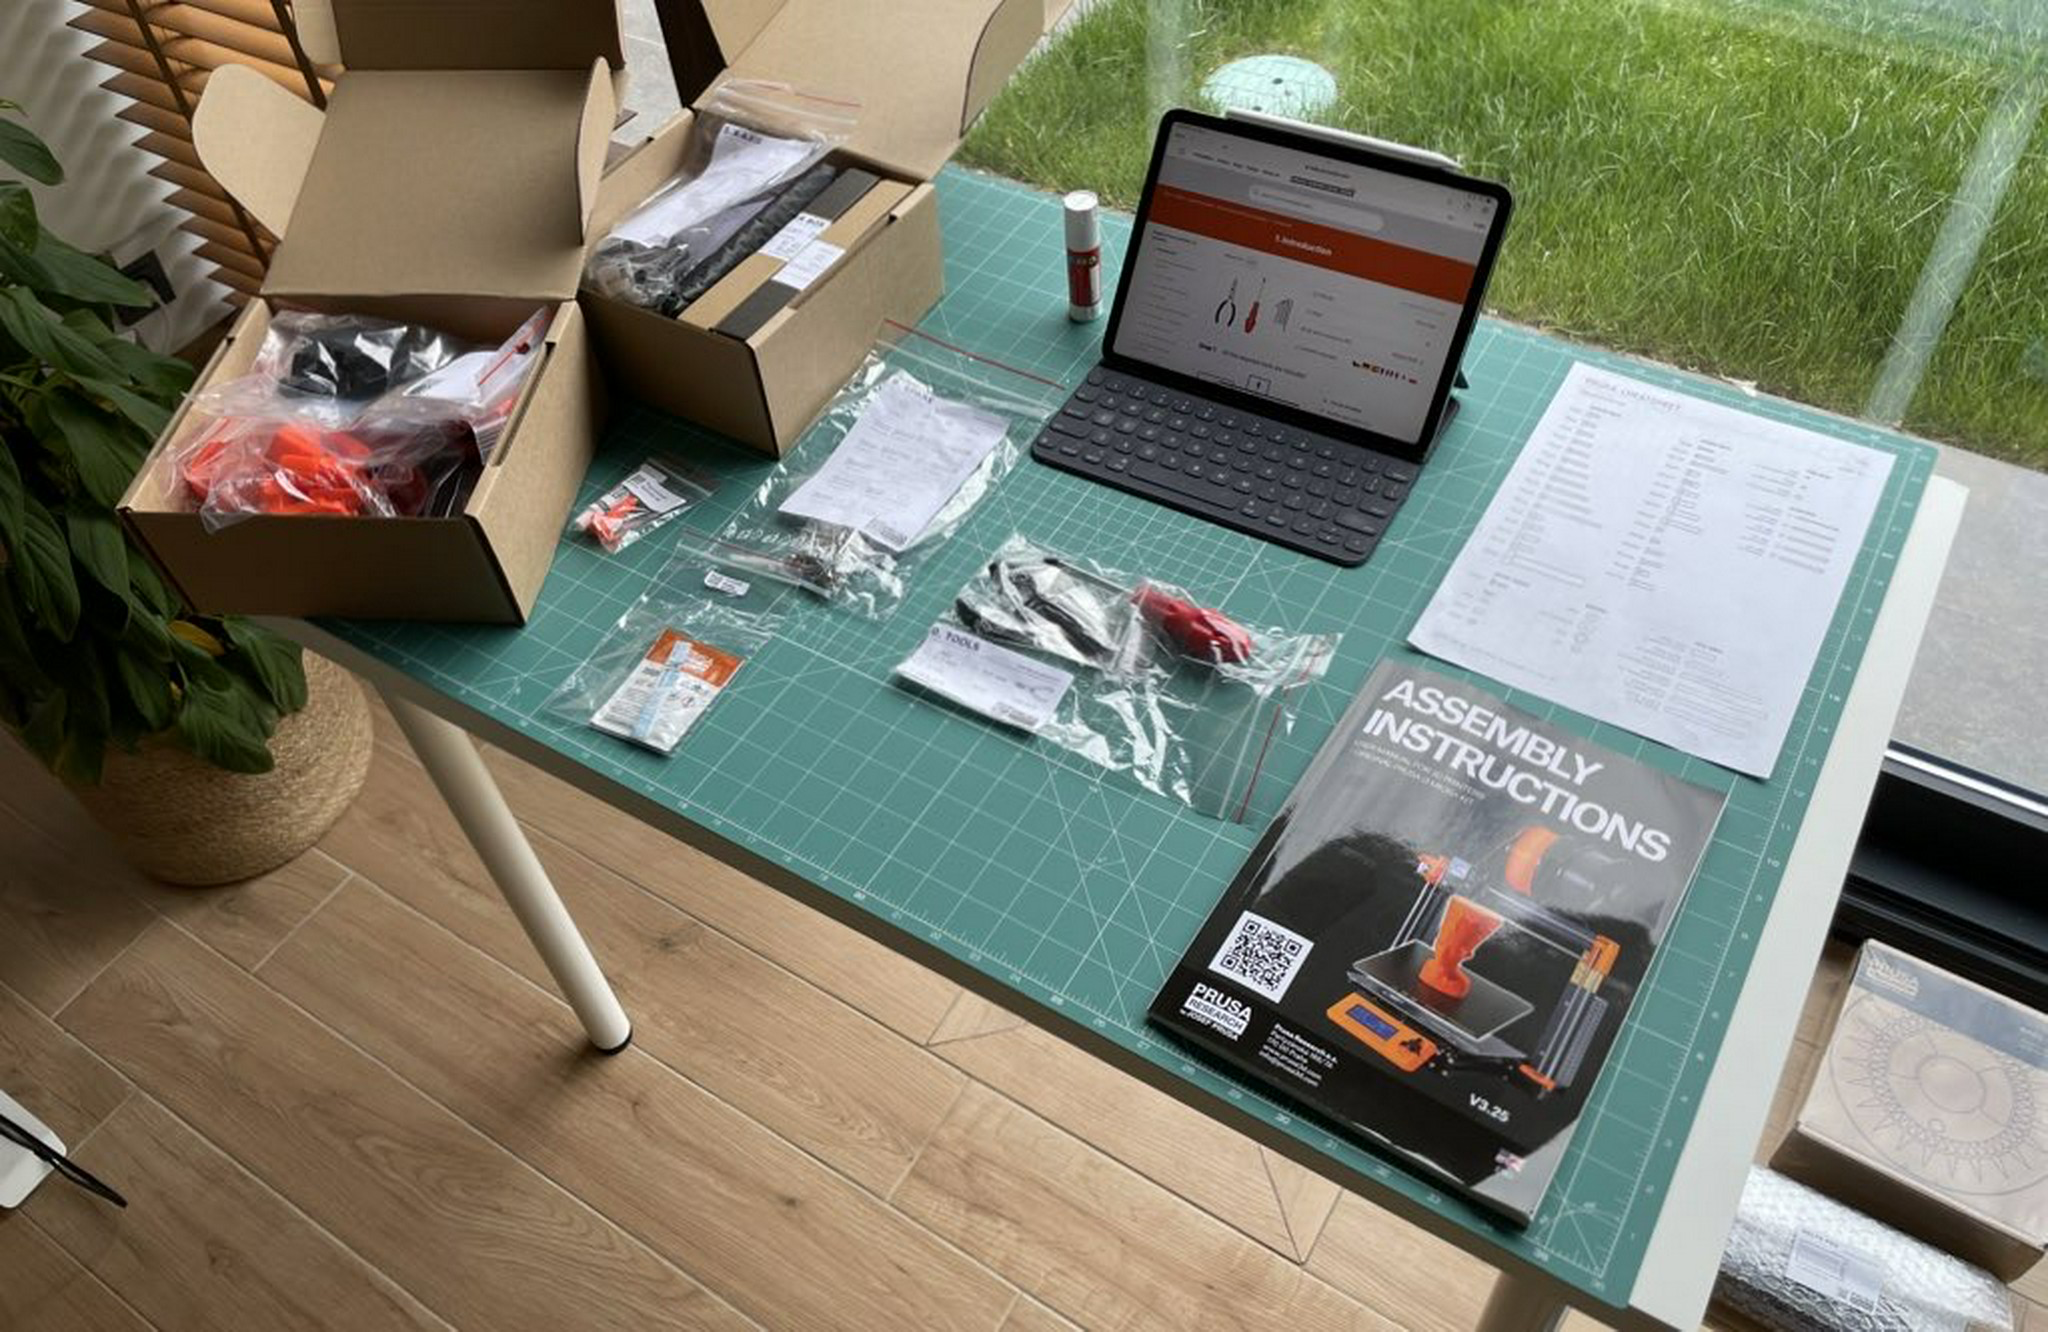
Building the Prusa i3 MK3S+ was fun but also challenging. I could finish it in just a day, but because it's a high-precision machine with numerous small details and components, I took it slowly, reading every single line in the handbook.
Having said the handbook, everyone recommended skipping the physical manual and following the online instructions. The main reason is that the online instructions have user comments for every single step, and those comments contain valuable tips & tricks that you wouldn't know otherwise. So, I opened my iPad and started following the instructions there.
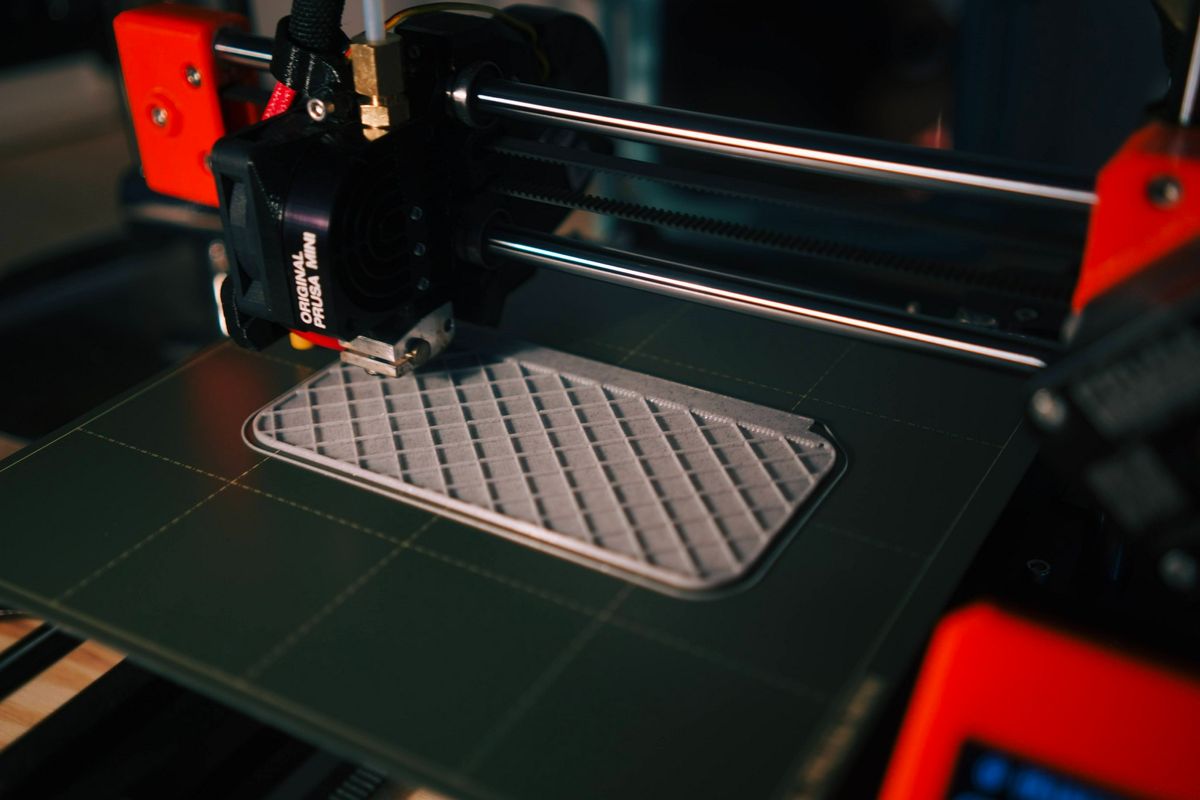
First print
The first thing you do once the build is finished is to print a test mode. There are many things you need first to do. First is the material choice for the 3D print. 3D printers print by heating plastic (or plastic-like materials) to a specific temperature and then slowly dripping the liquid/plasma-like material on the bed.
These materials are called thermoplastics and can be found in many types, such as PLA, PETG, ABS, etc. The two most popular are PLA and PETG. Most people use PLA because it's environmental and easy to work with. PETG is more durable for higher temperatures, but it's a bit rough and needs more post-processing if you use supports (more on this later).
Before the first print, you do a Z-calibration test called the First Layer Calibration. It's used to calibrate the distance between the tip of the nozzle and the print surface. That takes a couple of iterations until a particular pattern is neatly printed on the sheet. After that, you can print small objects, like the Prusa logo or the famous Benchy.
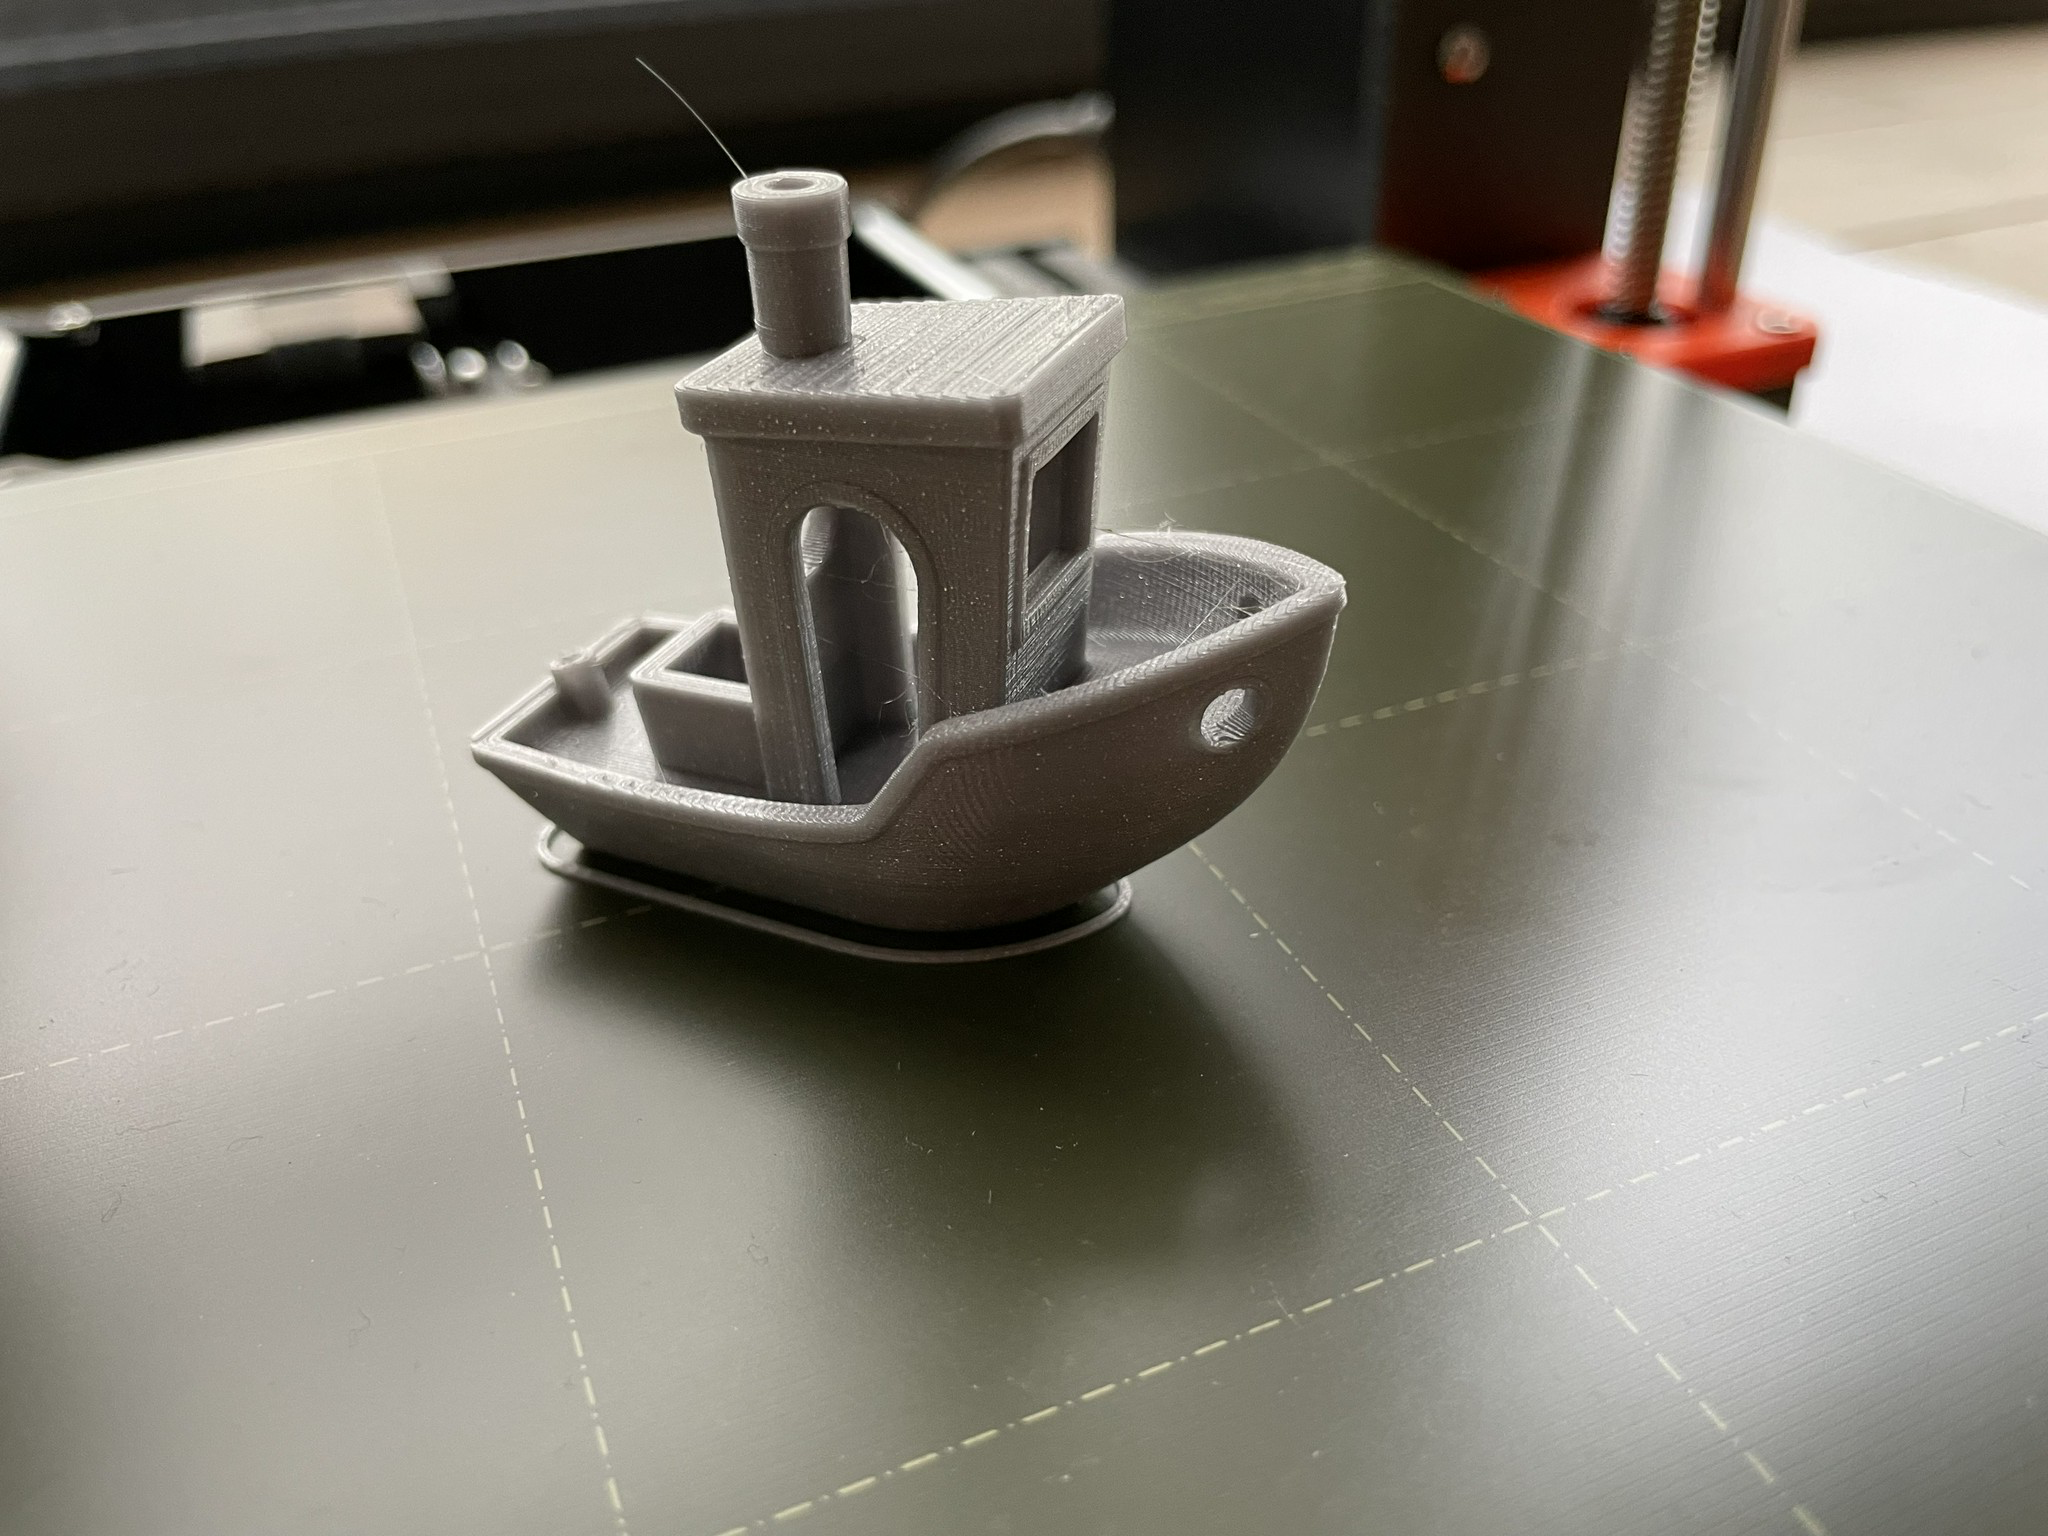
These models come preloaded with the SD card that comes with the Prusa i3 MKS3+. Models can be printed when they are represented in something called G-Code. G-Code is, in fact, a programming language that consists of commands that explain how fast to move, which path to follow, etc. That's the main reason why 3D design and printing are two different subjects.
You can't print a 3D Design file (represented by STL or 3MF file formats). To ensure the 3D printer can understand how to print an STL/3MF file, you need to convert them into G-Code. The software to do that is called a slicer. A slicer slices a 3D model into movements and paths, which a G-Code represents.
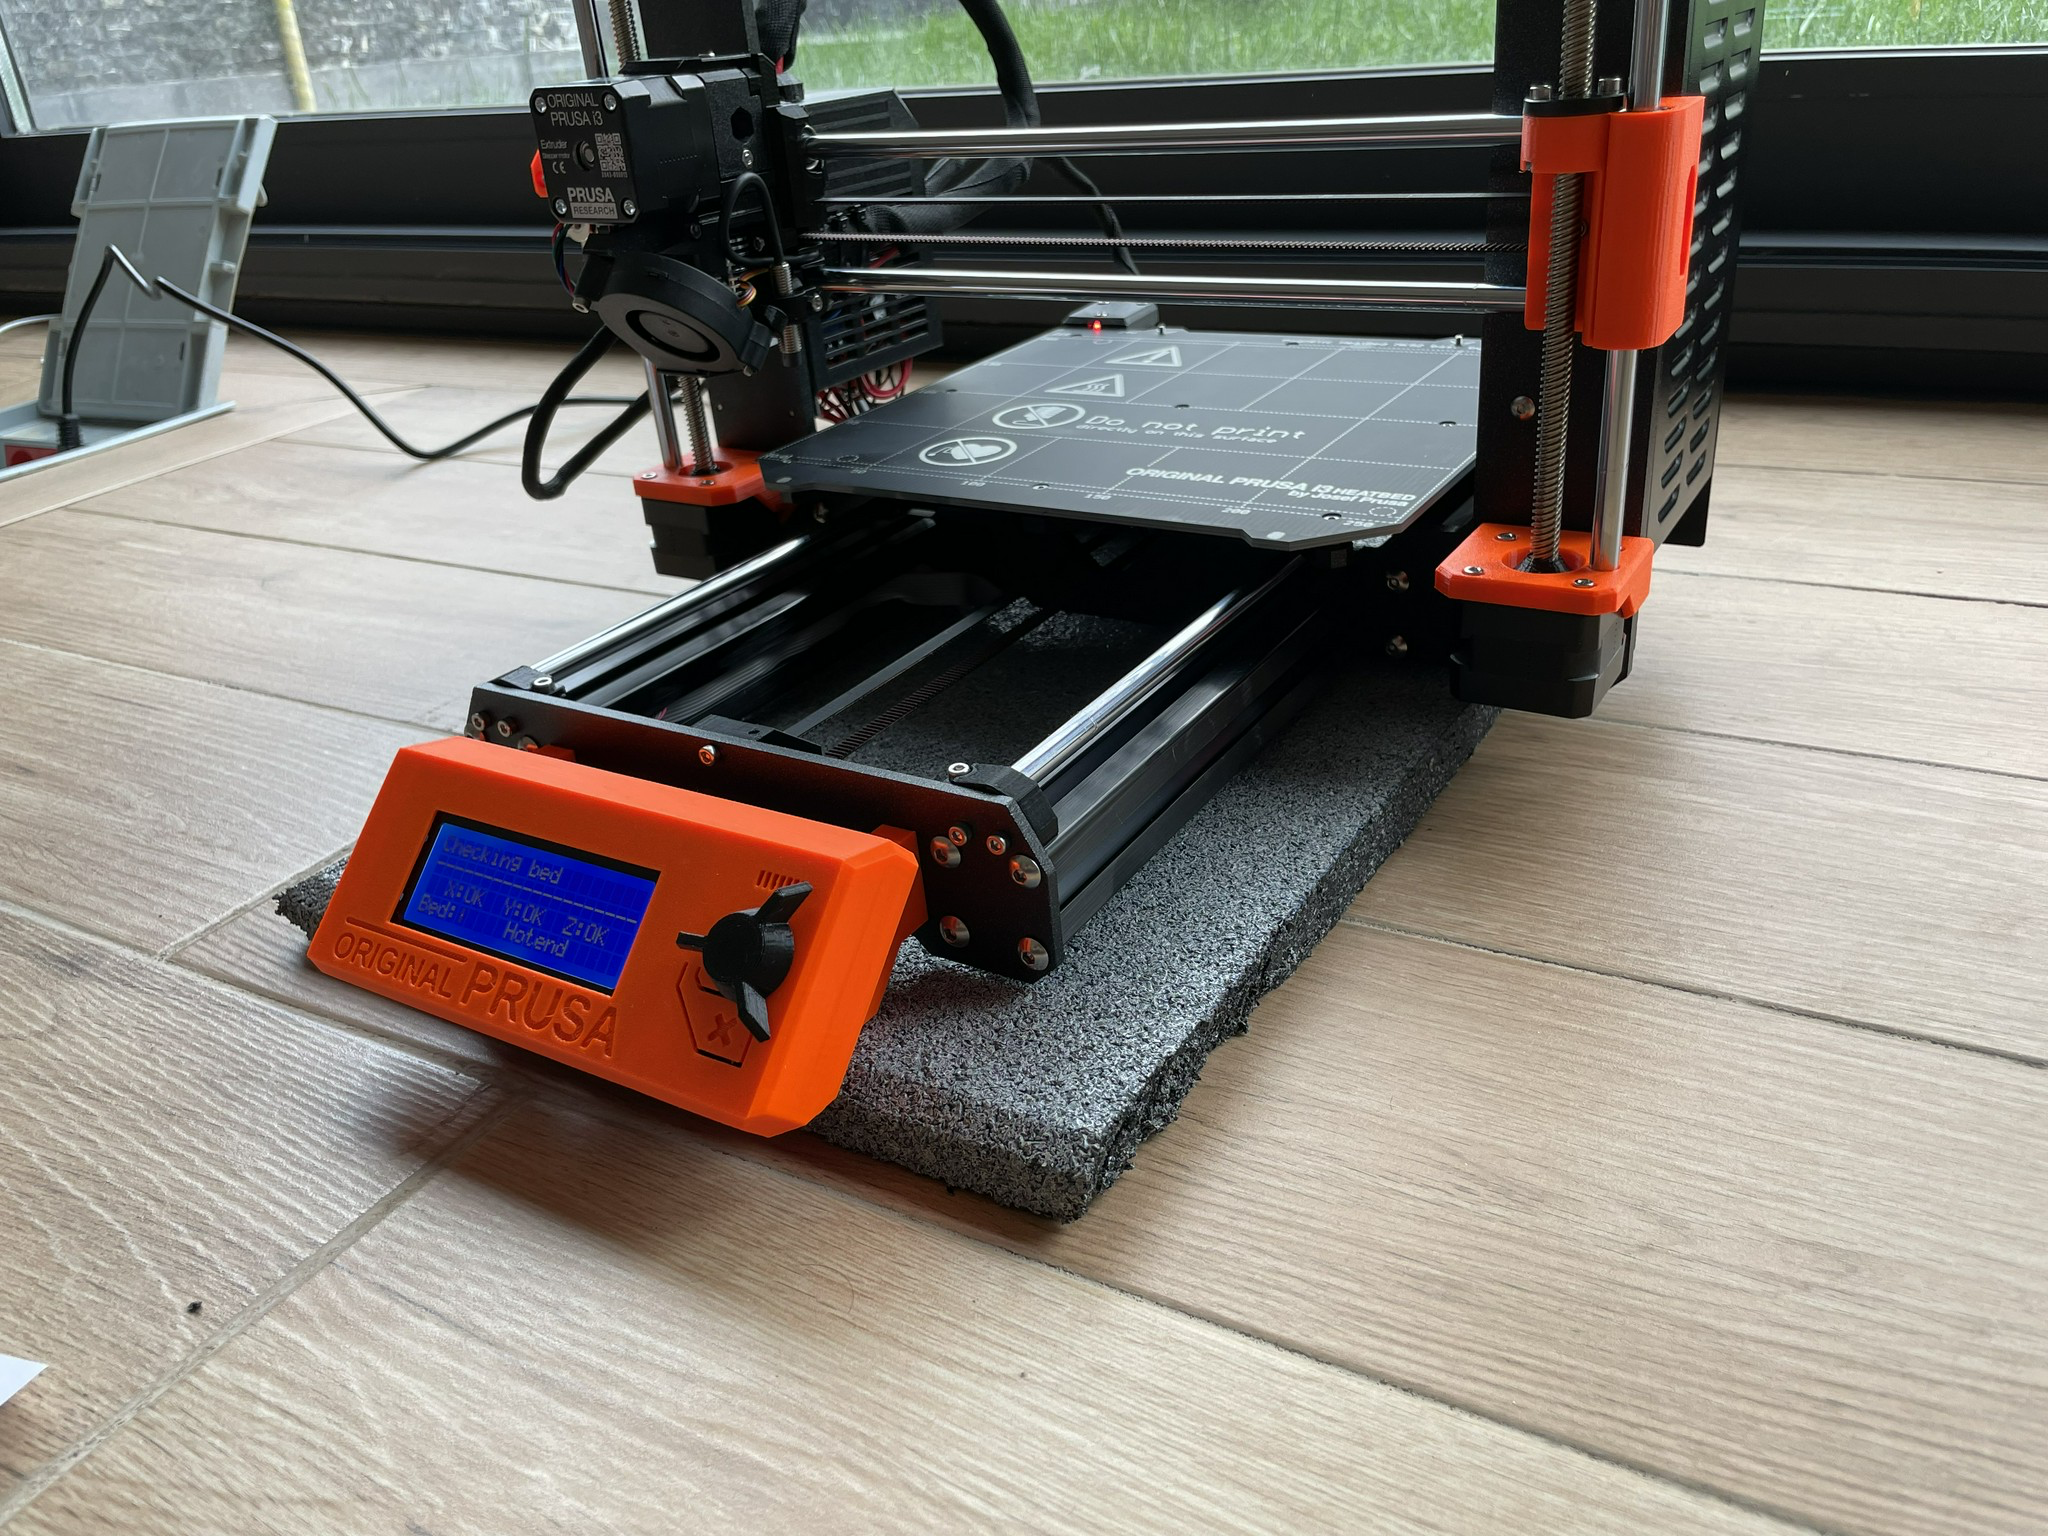
Because the motors of the 3D printer make numerous movements, it vibrates quite a bit. There are shock-absorbing tiny feet under the printer, but they are not good enough. Many people have suggested adding a mat or something to absorb the shocks. Luckily, I had some leftover mats from my home gym, which I used to absorb the vibrations.
To select a print, you must insert an SD card into the mainboard of the PRUSA. This SD card contains several ready-to-use gcode files you can print immediately with the shipped PLA filament.
However, it becomes cumbersome after a while when you start downloading custom models from the internet (Thingiverse and Printables websites are the most two popular). And this is where the fun starts.
But, how can we get rid of copying/pasting into an SD card and move the card forth and back from our machine to the printer?
Raspberry Pi for rescue
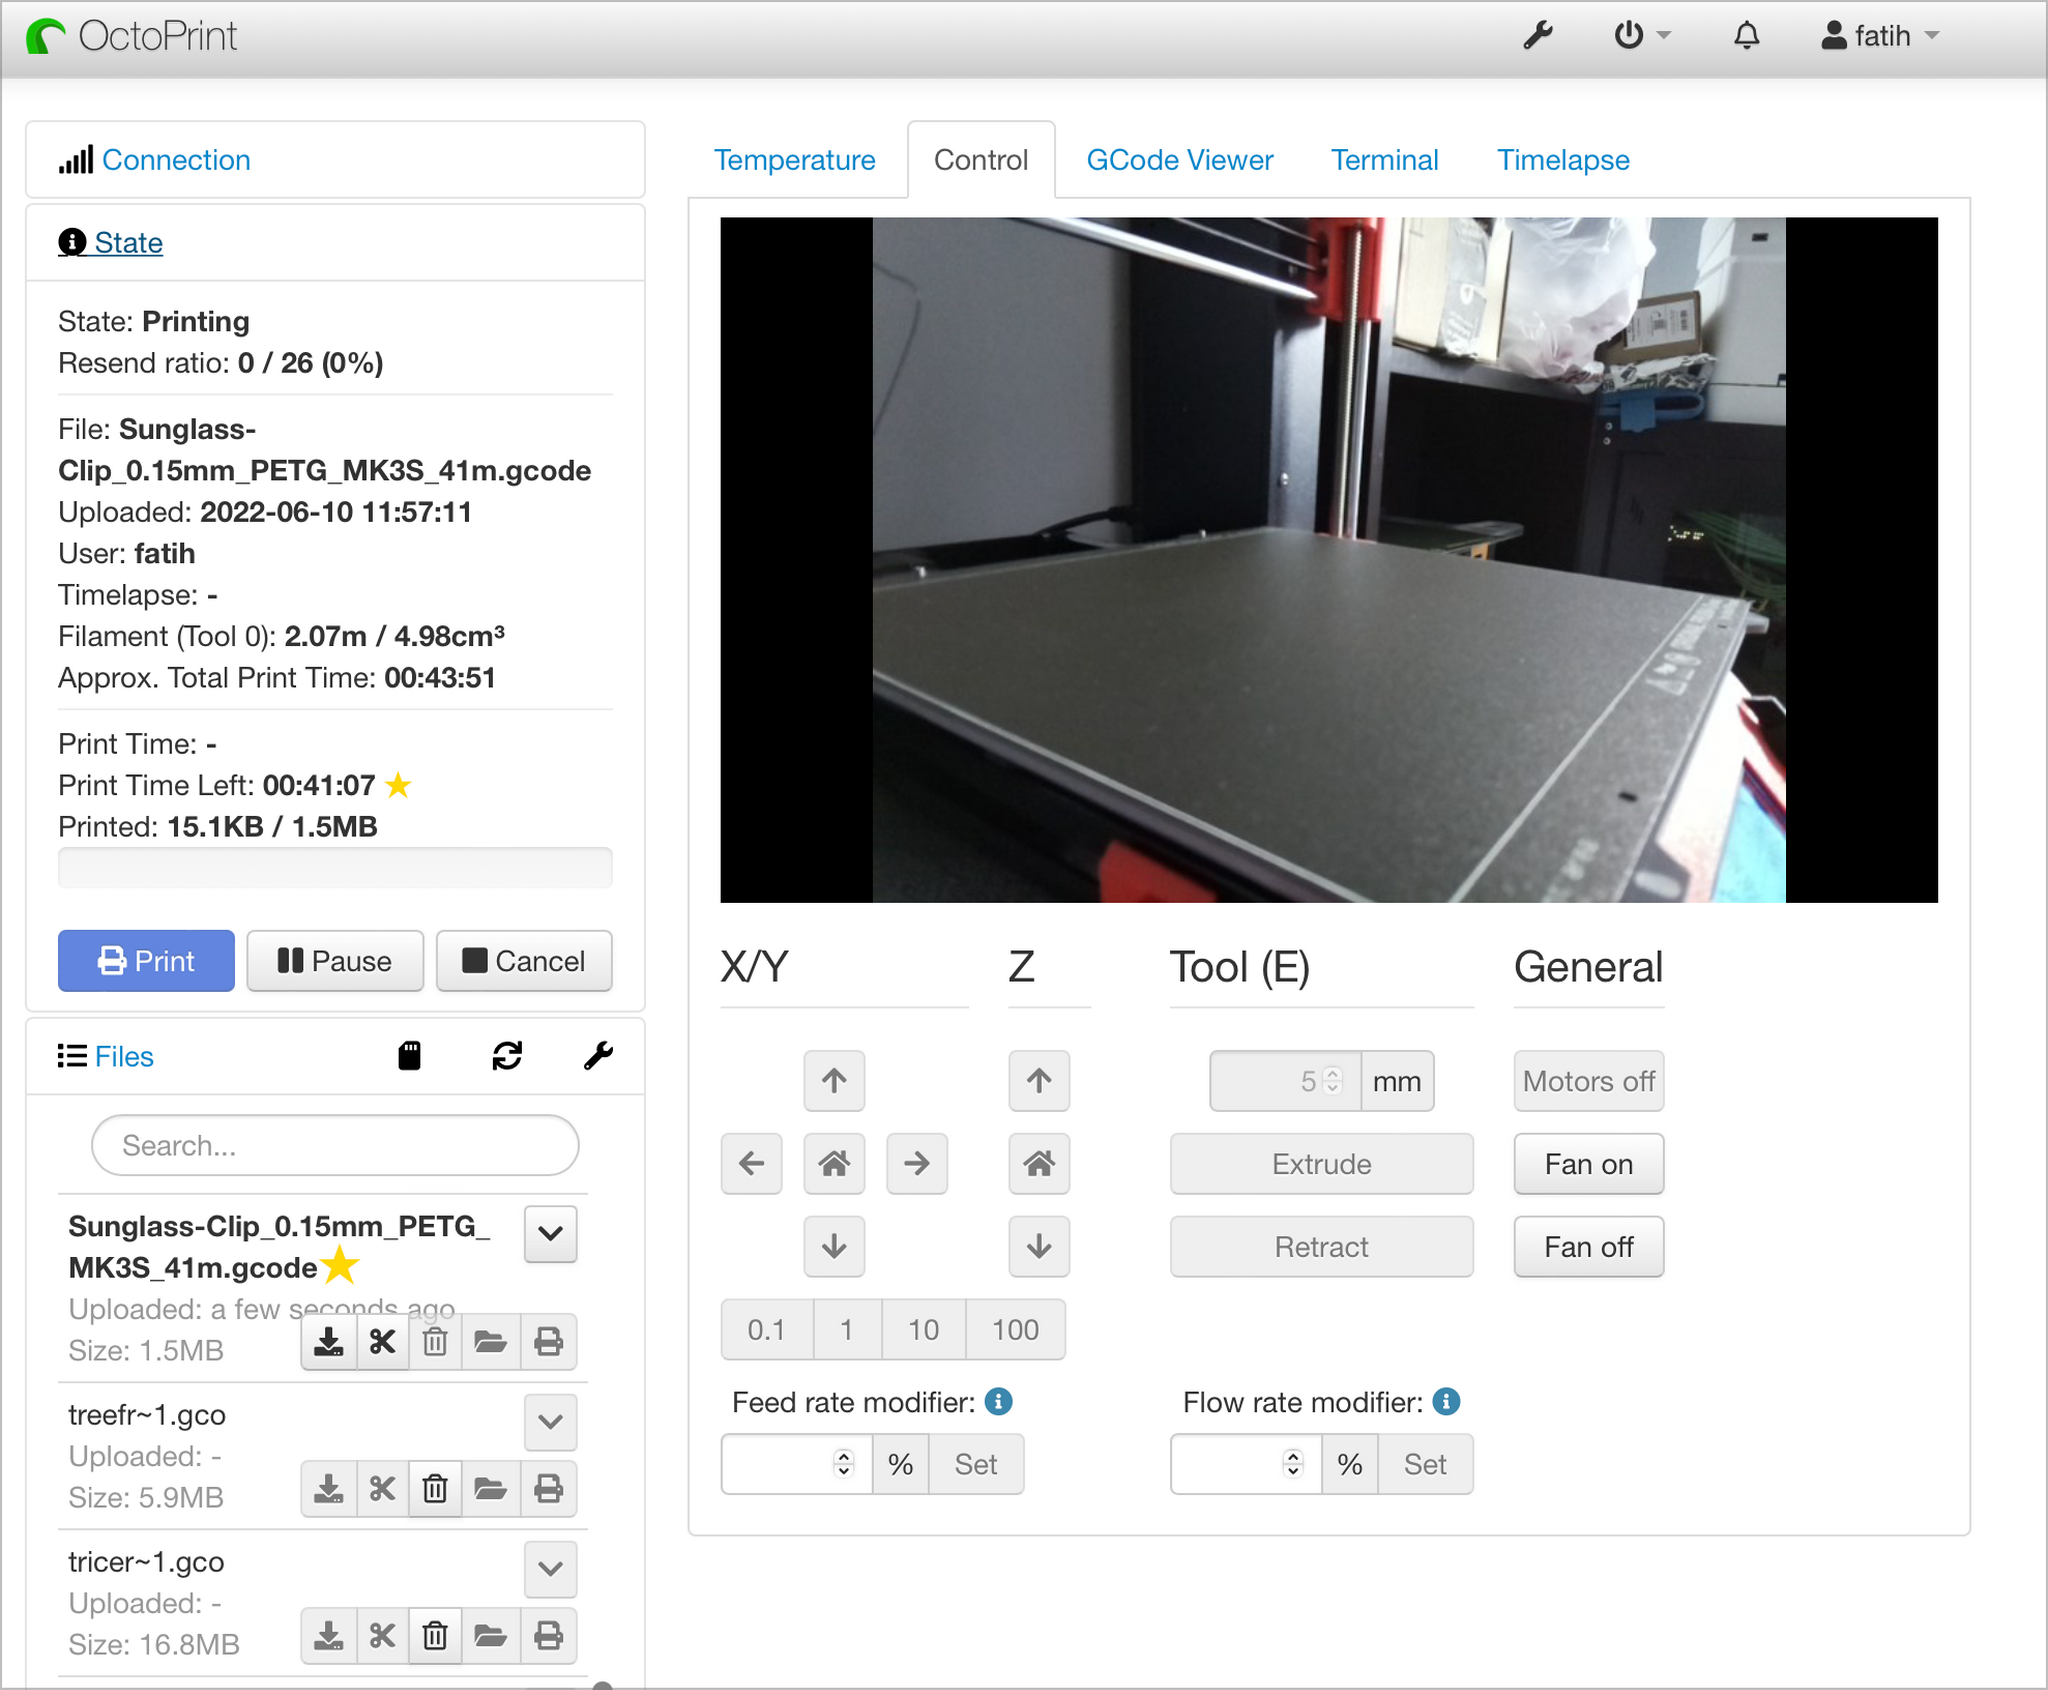
There is a project called OctoPrint, which provides a web interface to manage and control your 3D printer. It's an open-source project that has support for many 3D printers. You can run it anywhere; all you need is to make sure to find a way to connect the OctoPrint server via a USB cable to your printer.
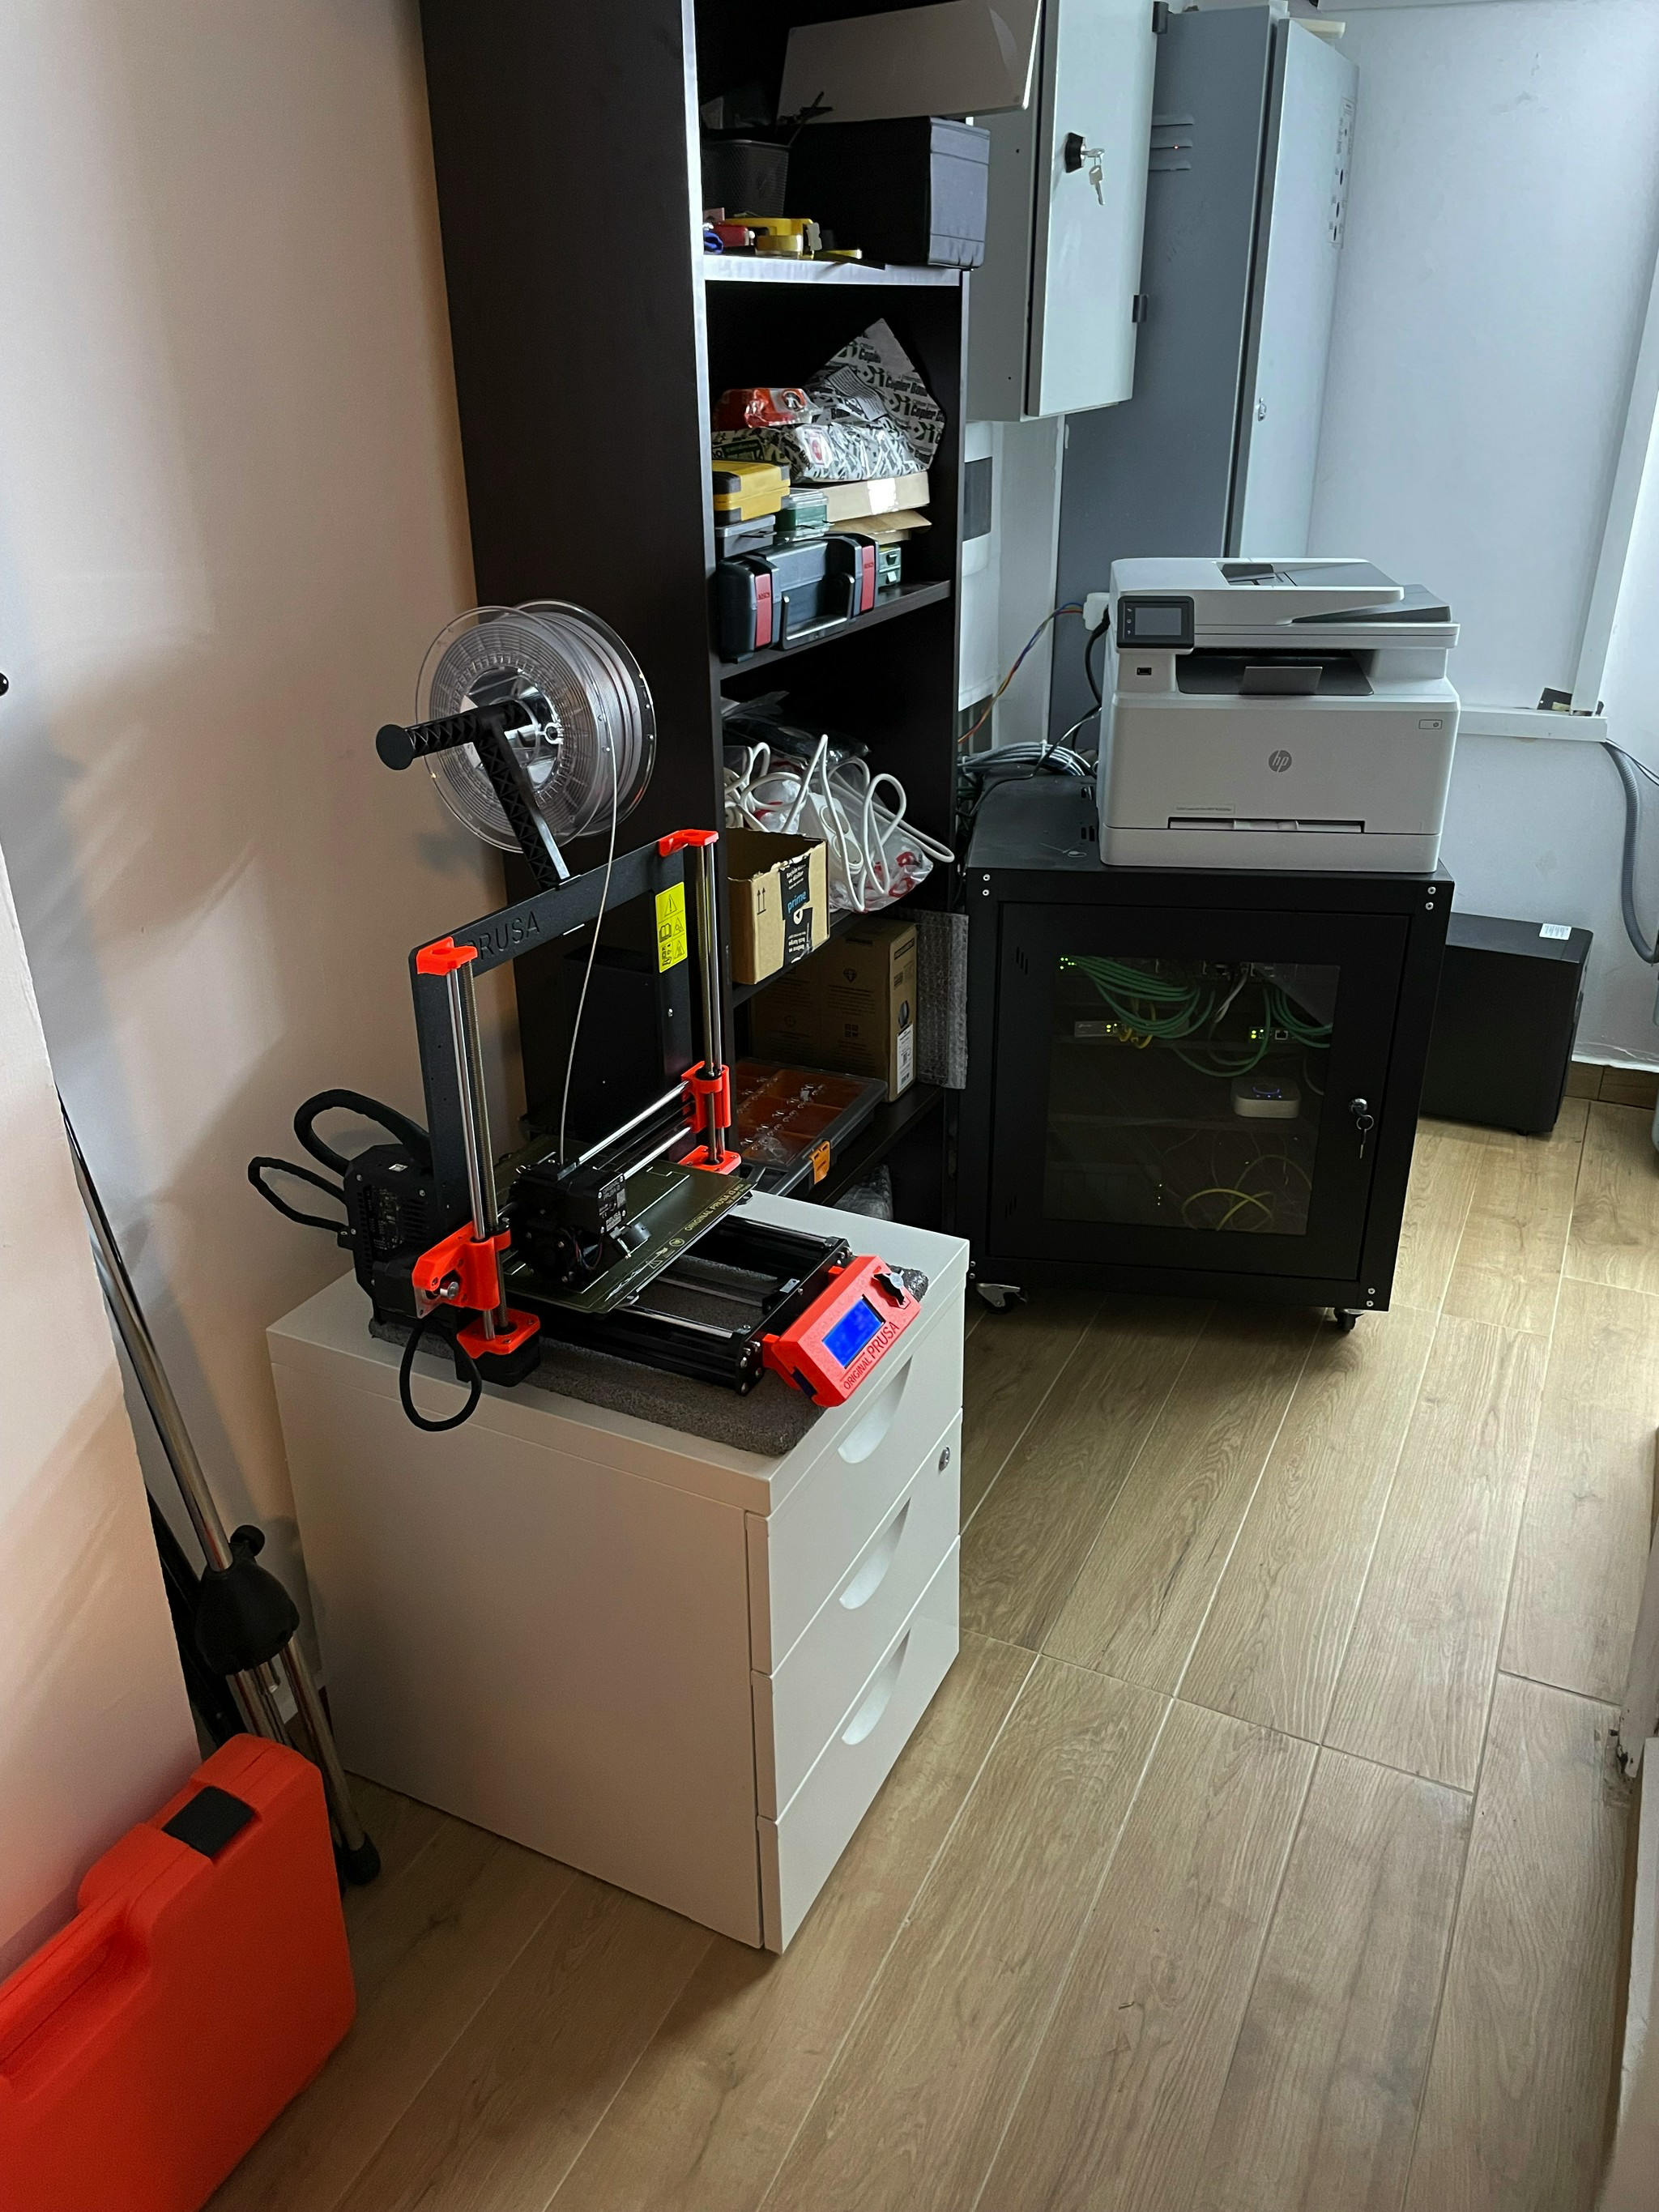
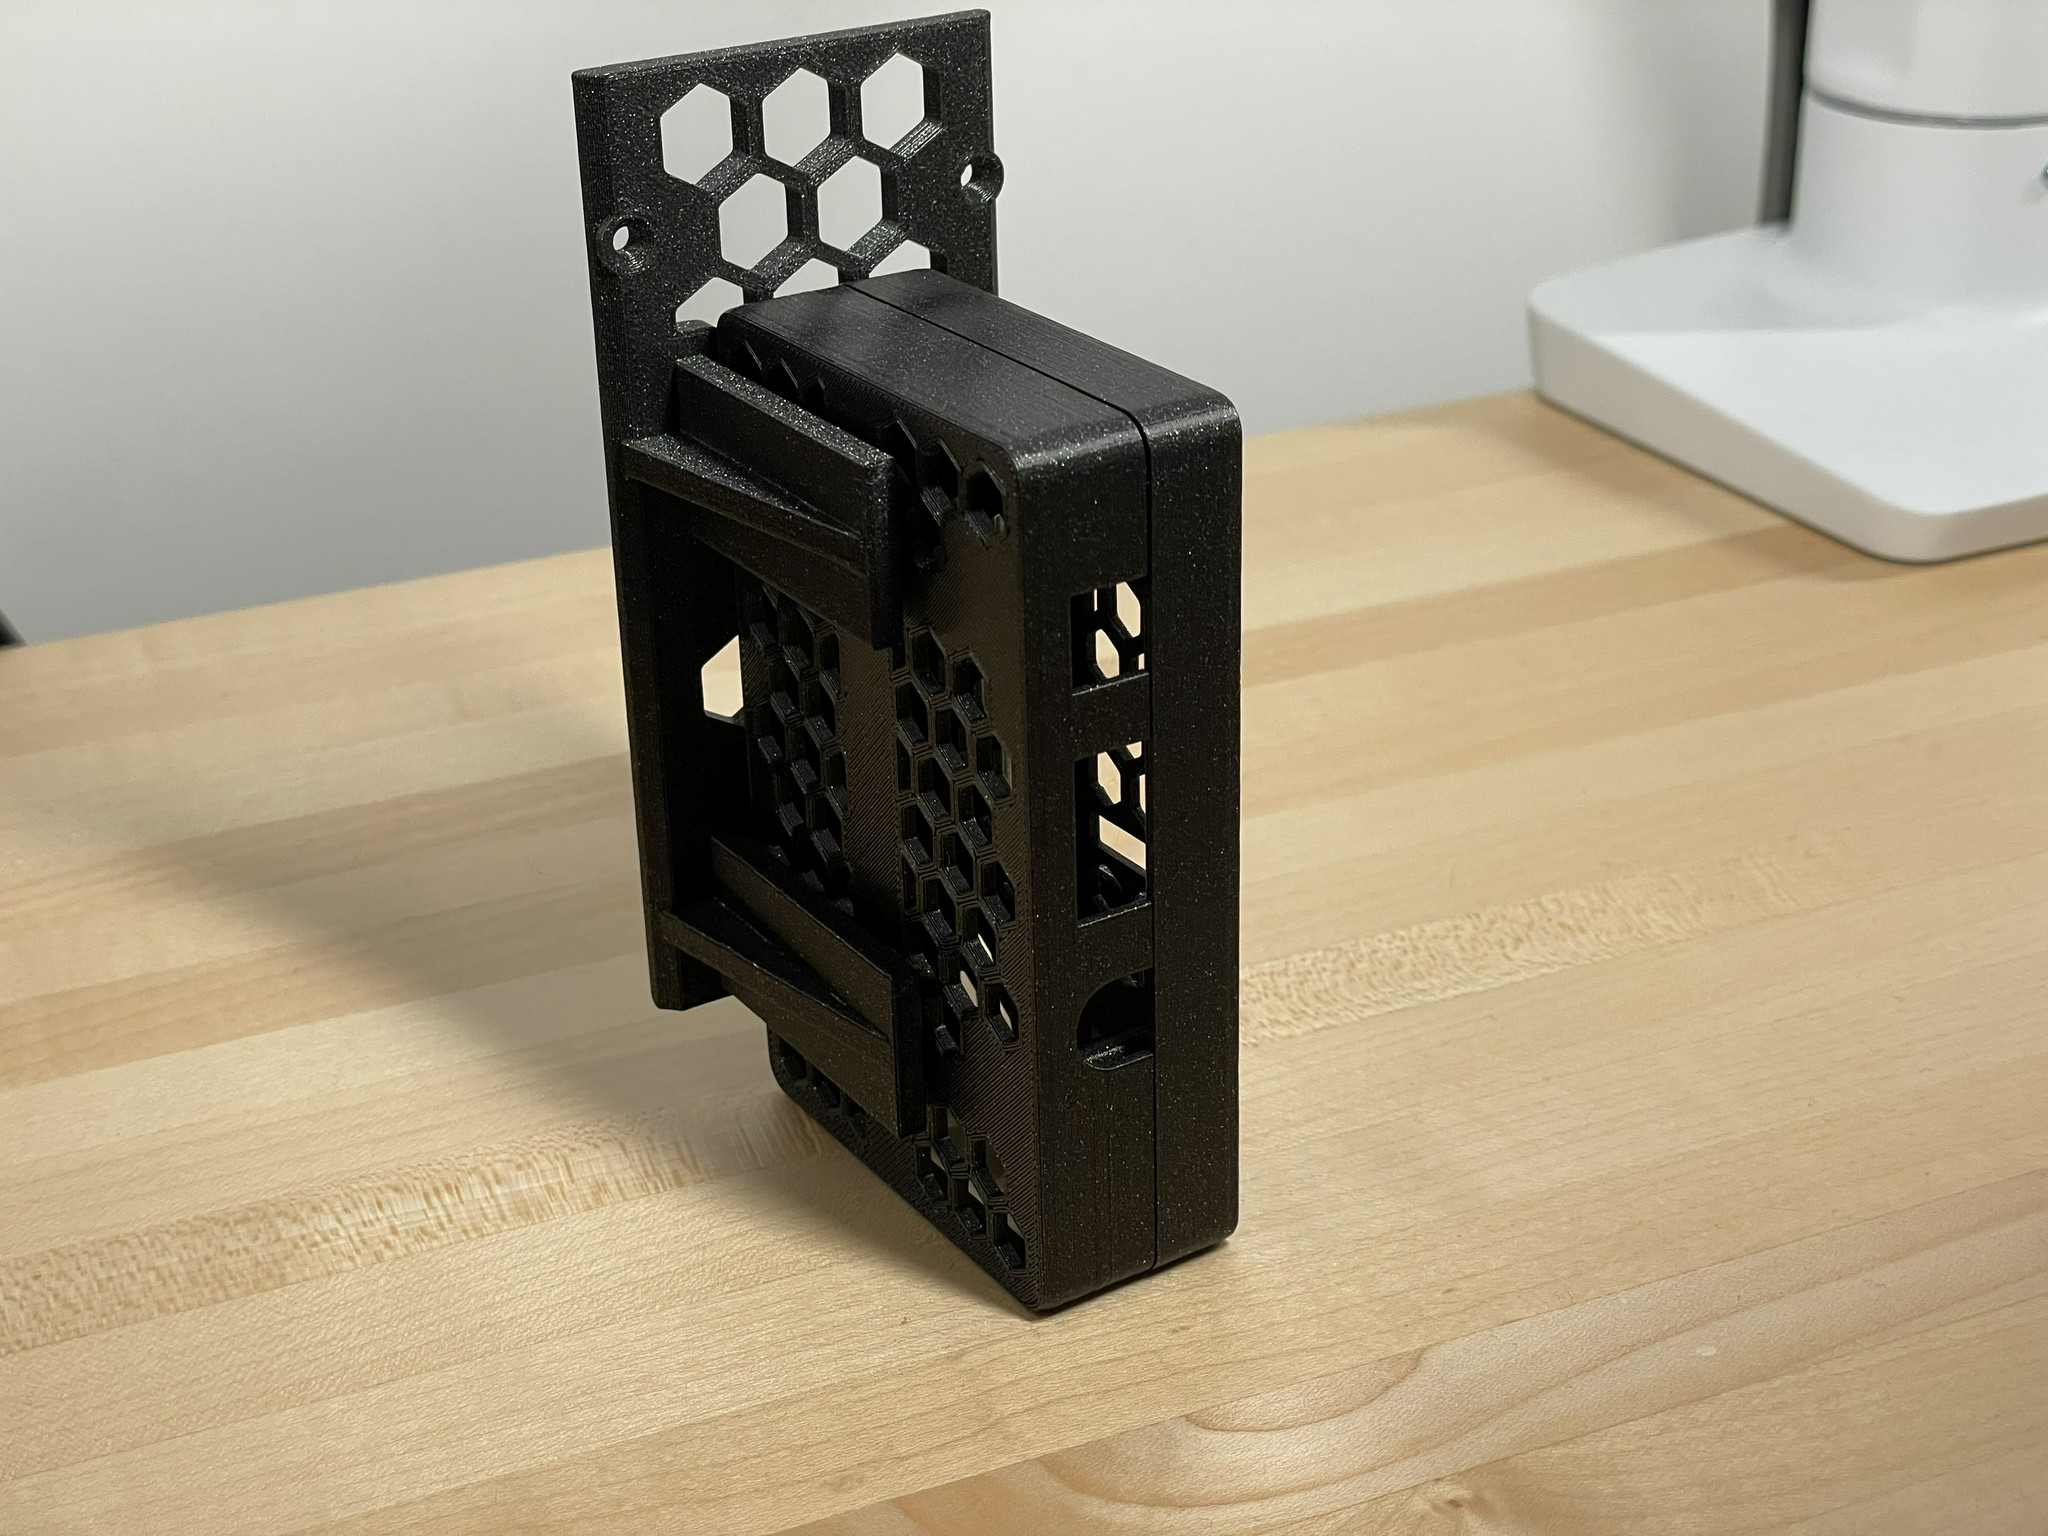
Many people (including me) run OctoPrint on a Raspberry Pi (RBPi 3 or 4). A Raspberry Pi is perfect because it's small enough to mount near your printer and efficient enough to run for long durations.
The best part? You can print a particular case that fits your 3D printer perfectly.
This feeling of having a machine that you can use to improve itself is something I never experienced before. Once I've installed OctoPrint and configured it, I could remotely print gcode files, and all I had was to upload the gcode files to the printer. That was nice; I no longer had to go forth and back.
There was now another problem, though. 3D prints take a long time, and we're talking about hours, even days, for some very advanced prints. Hence, I had to always watch out for the 3D printer and monitor the progress of my prints. Luckily, the OctoPrint community also had a solution for that.
Webcams!
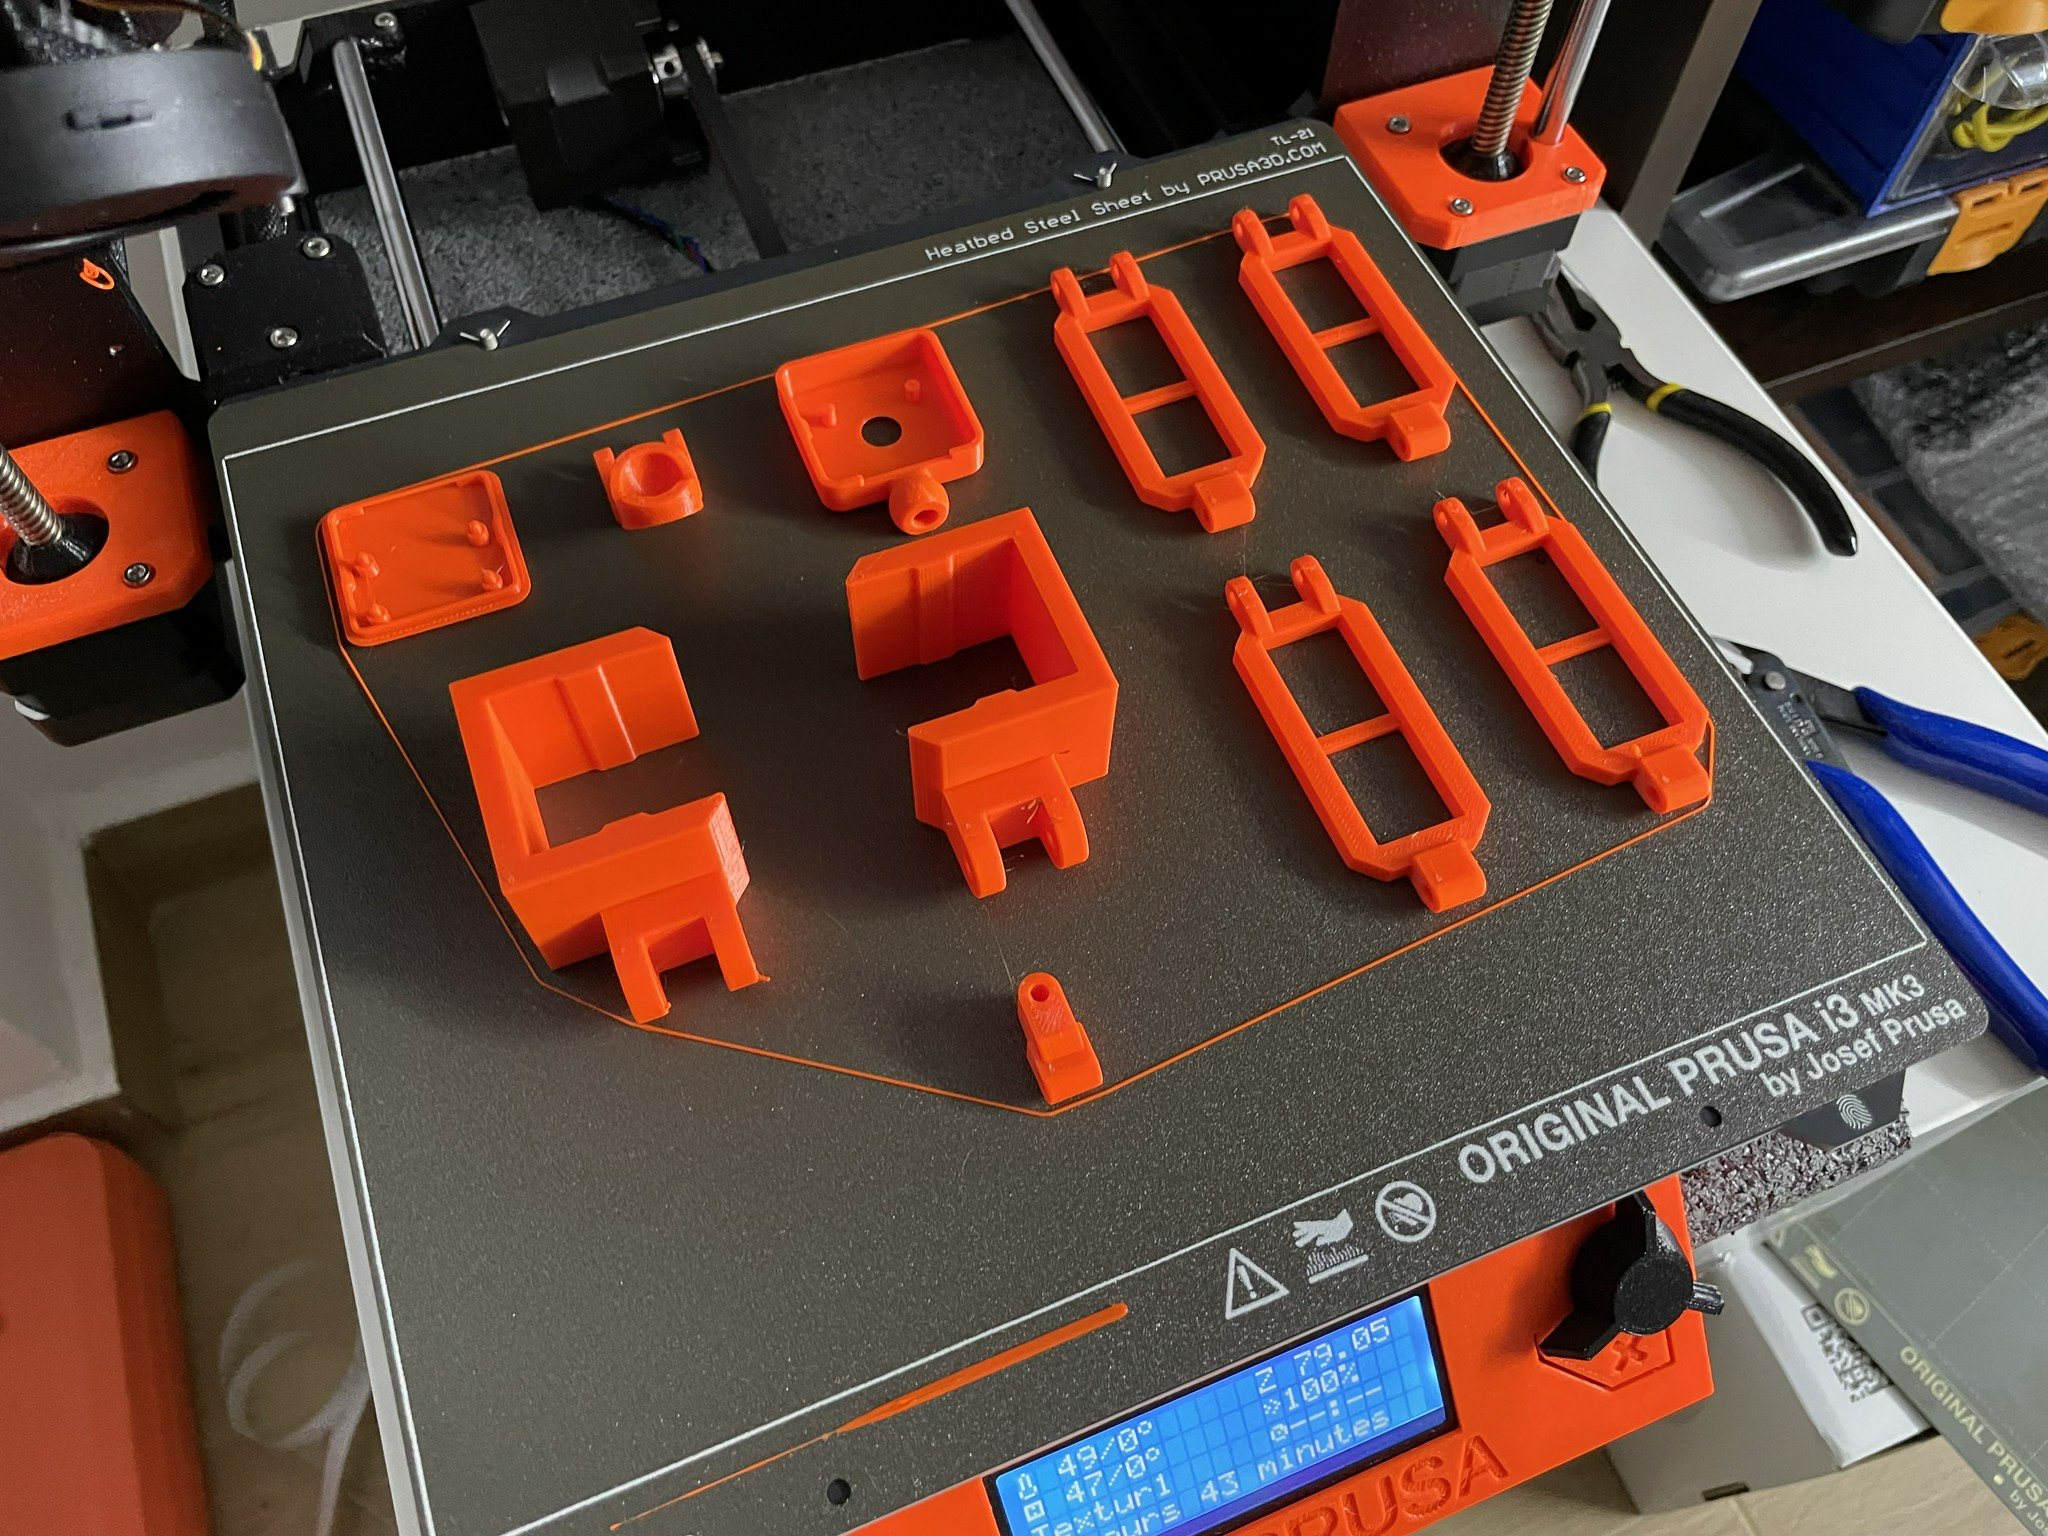
You can attach a webcam to your Raspberry Pi to monitor your 3D printer remotely. A cheap Logitech camera works fine. I went with the Raspberry Pi Camera because it works out of the box with the Raspberry Pi and is small enough to attach it to the 3D printer. But how do we mount it? You got it; we'll print the case and mounting parts!
There are many designs to mount a Raspberry Pi cam, but I like the one that you could extend with multiple arms. The camera can move up and down, also left to right, because it is attached to the bed rails.

After adding the camera, I could monitor any print's progress remotely, which was golden.
Access from anywhere
Of course, my OctoPrint instance was only accessible from my home network, and I also wanted to be able to access it when I was outside and not at home. Luckily, there is a great product called Tailscale, which I use for many things at home. Tailscale is a VPN product built on Wireguard that allows you to connect all your devices without having to configure any firewalls, and it just works™.
With recent changes, Tailscale can automatically generate HTTPS certs for any server you want. I did that for my Octoprint server, and now I can access my Octoprint from anywhere in the world.
There is even an iPhone app called OctoPod that sends notifications once a print has finished or has a problem. Paired with an HTTPS-enabled Tailscale instance, you can securely manage your 3D printer from your phone!
Verdict
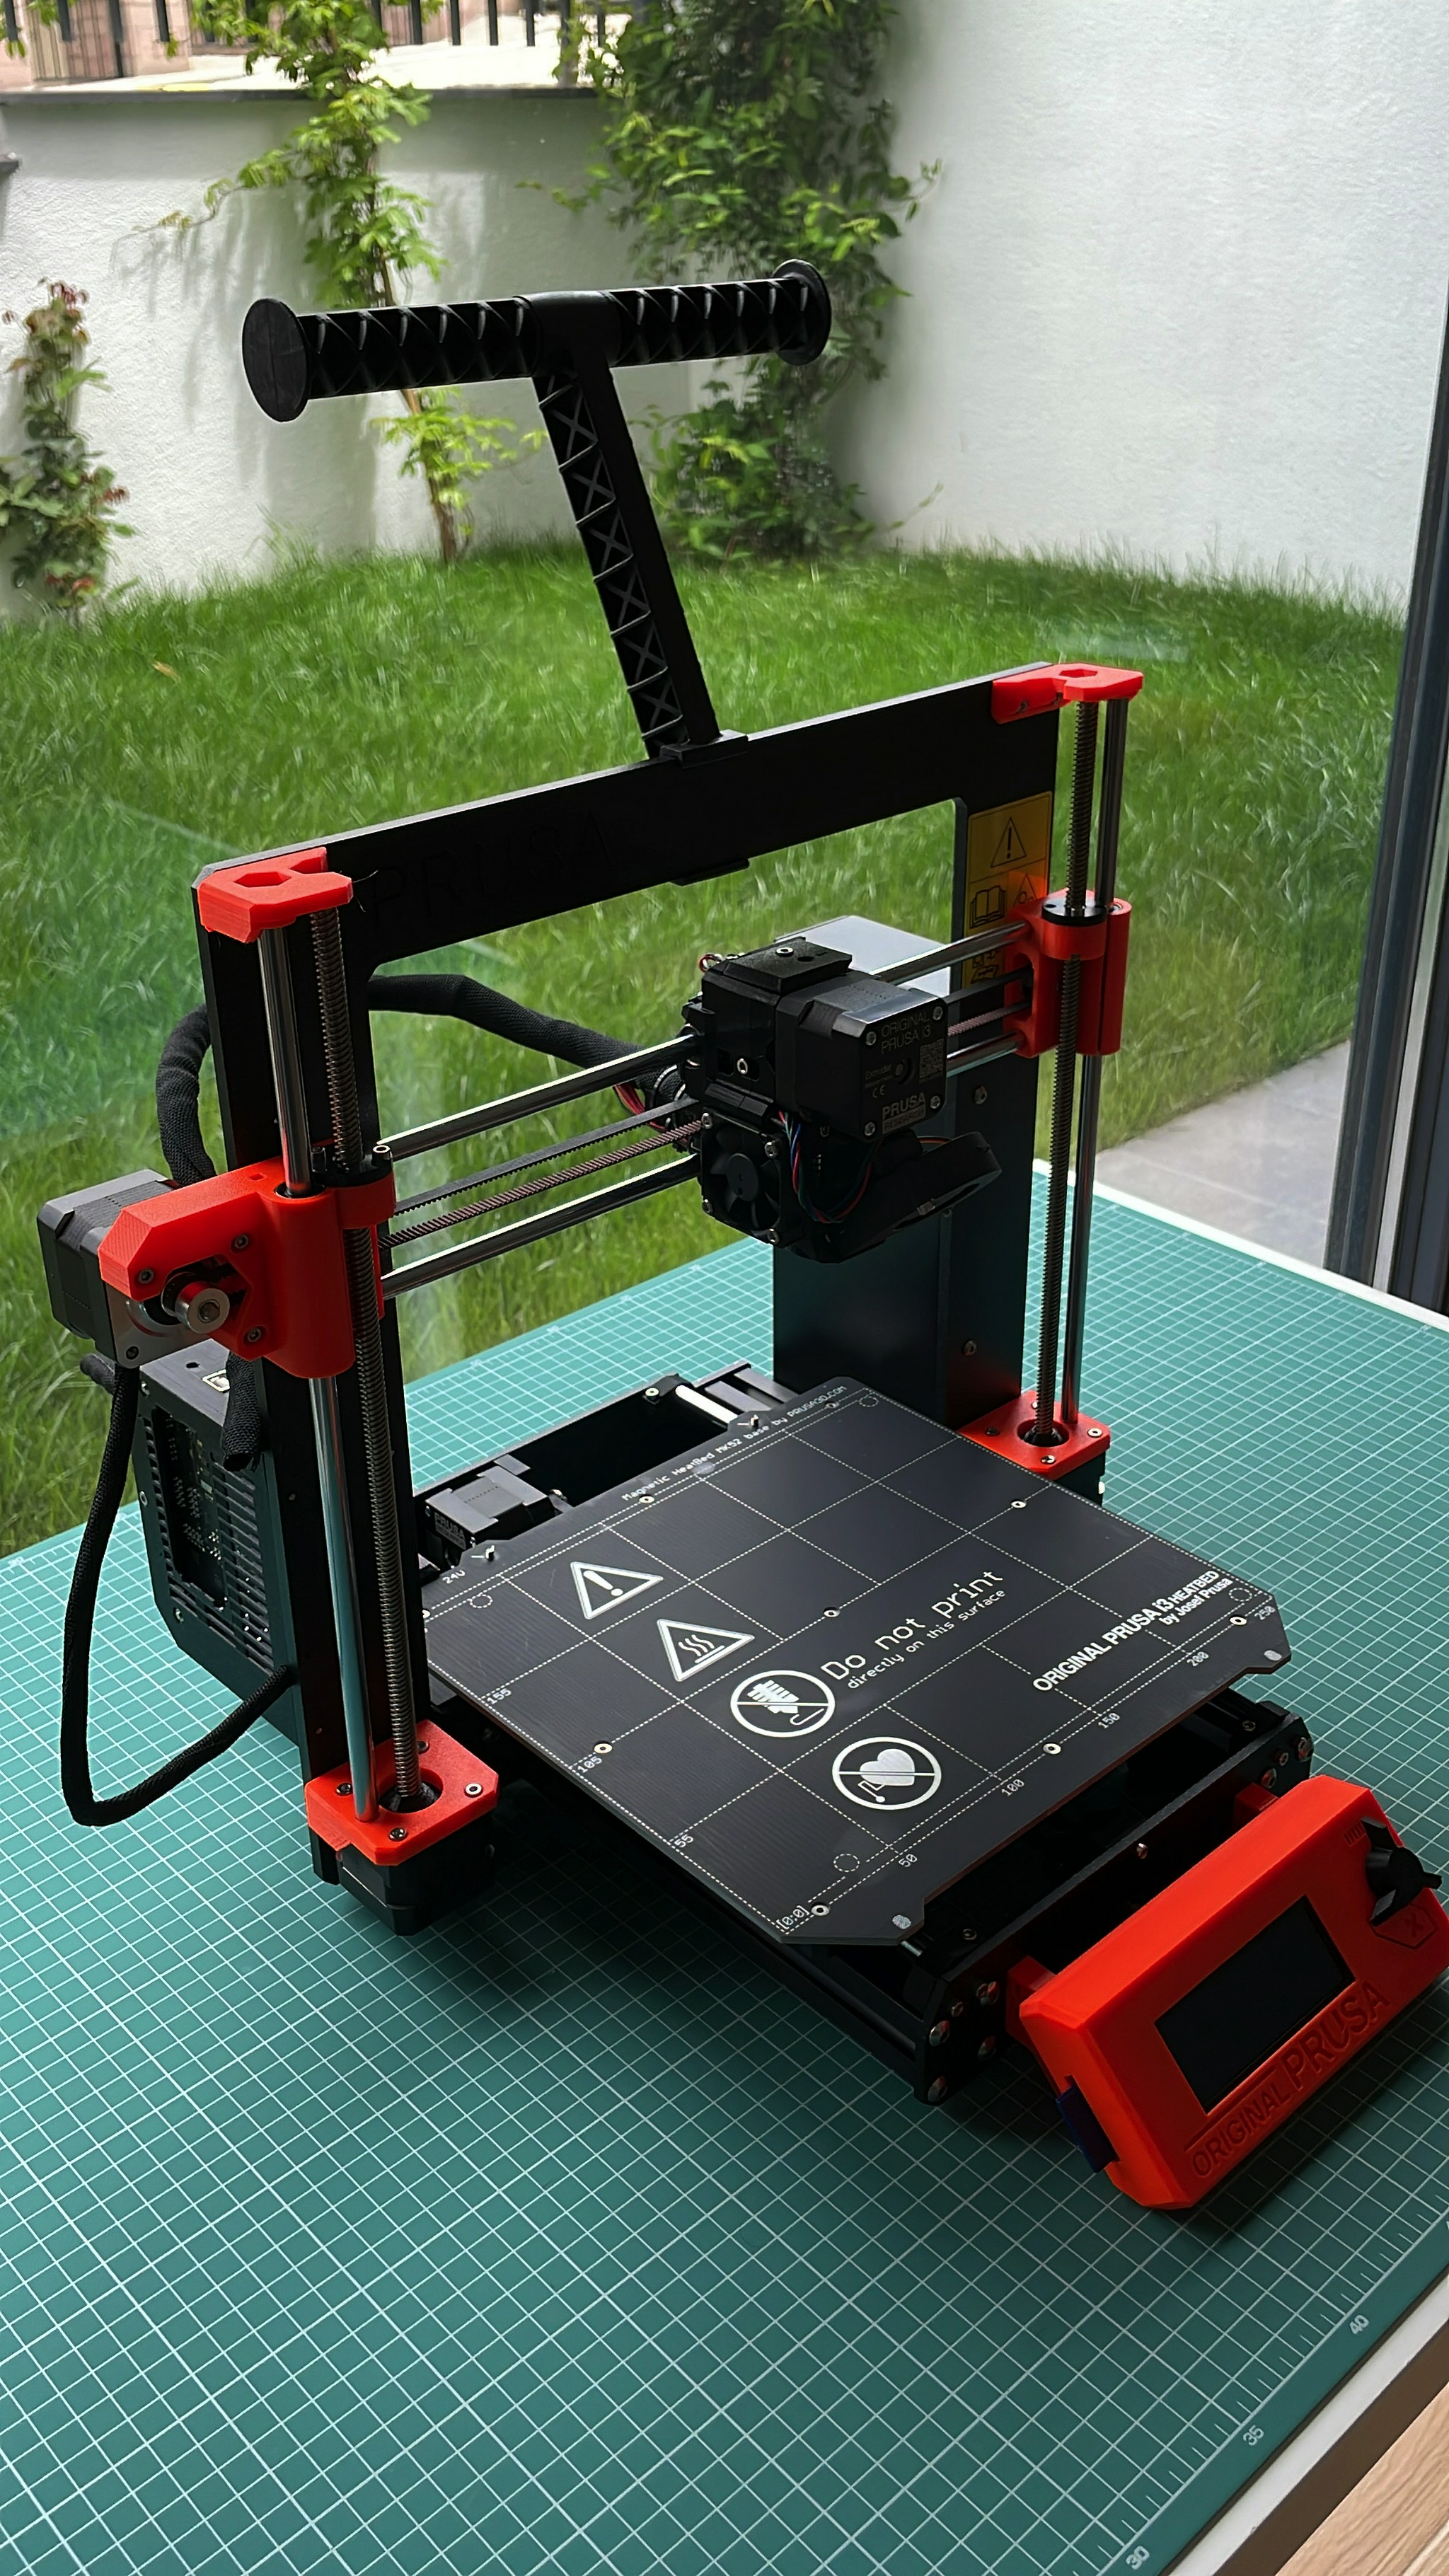
As you see, building and preparing the Prusa i3 MKS3+ is a lot of fun but comes with many post-modification steps. If you're a person who loves to tinker and want to learn more about 3D printers, the Prusa i3MKS+ is perfect.
It prints wonderful, has a large community where you can ask for help, and Prusa's customer support is well known for quick assistance.
There are, of course, a lot of more expensive printers that already have a webcam built-in, can be accessed remotely, etc. They come assembled, and all you have is to load the filament and start printing. One example of a high-end printer is the Ultimaker S3. I thought about whether it would make sense to go with the Ultimaker S3 first. But it was 4x times more expensive than the Prusa, and I would rather not splurge a lot of money into something that I'm uncertain whether I would like or use daily.
I'm happy with the Prusa i3 MKS3+ so far and plan to use it for the foreseeable future.
What's next?
I recently bought a new car (yay!). However, due to the global chip shortage, numerous things are missing. One particular thing is the wireless charging pad. They come in various designs; for my car, it was supposed to be in the center console.
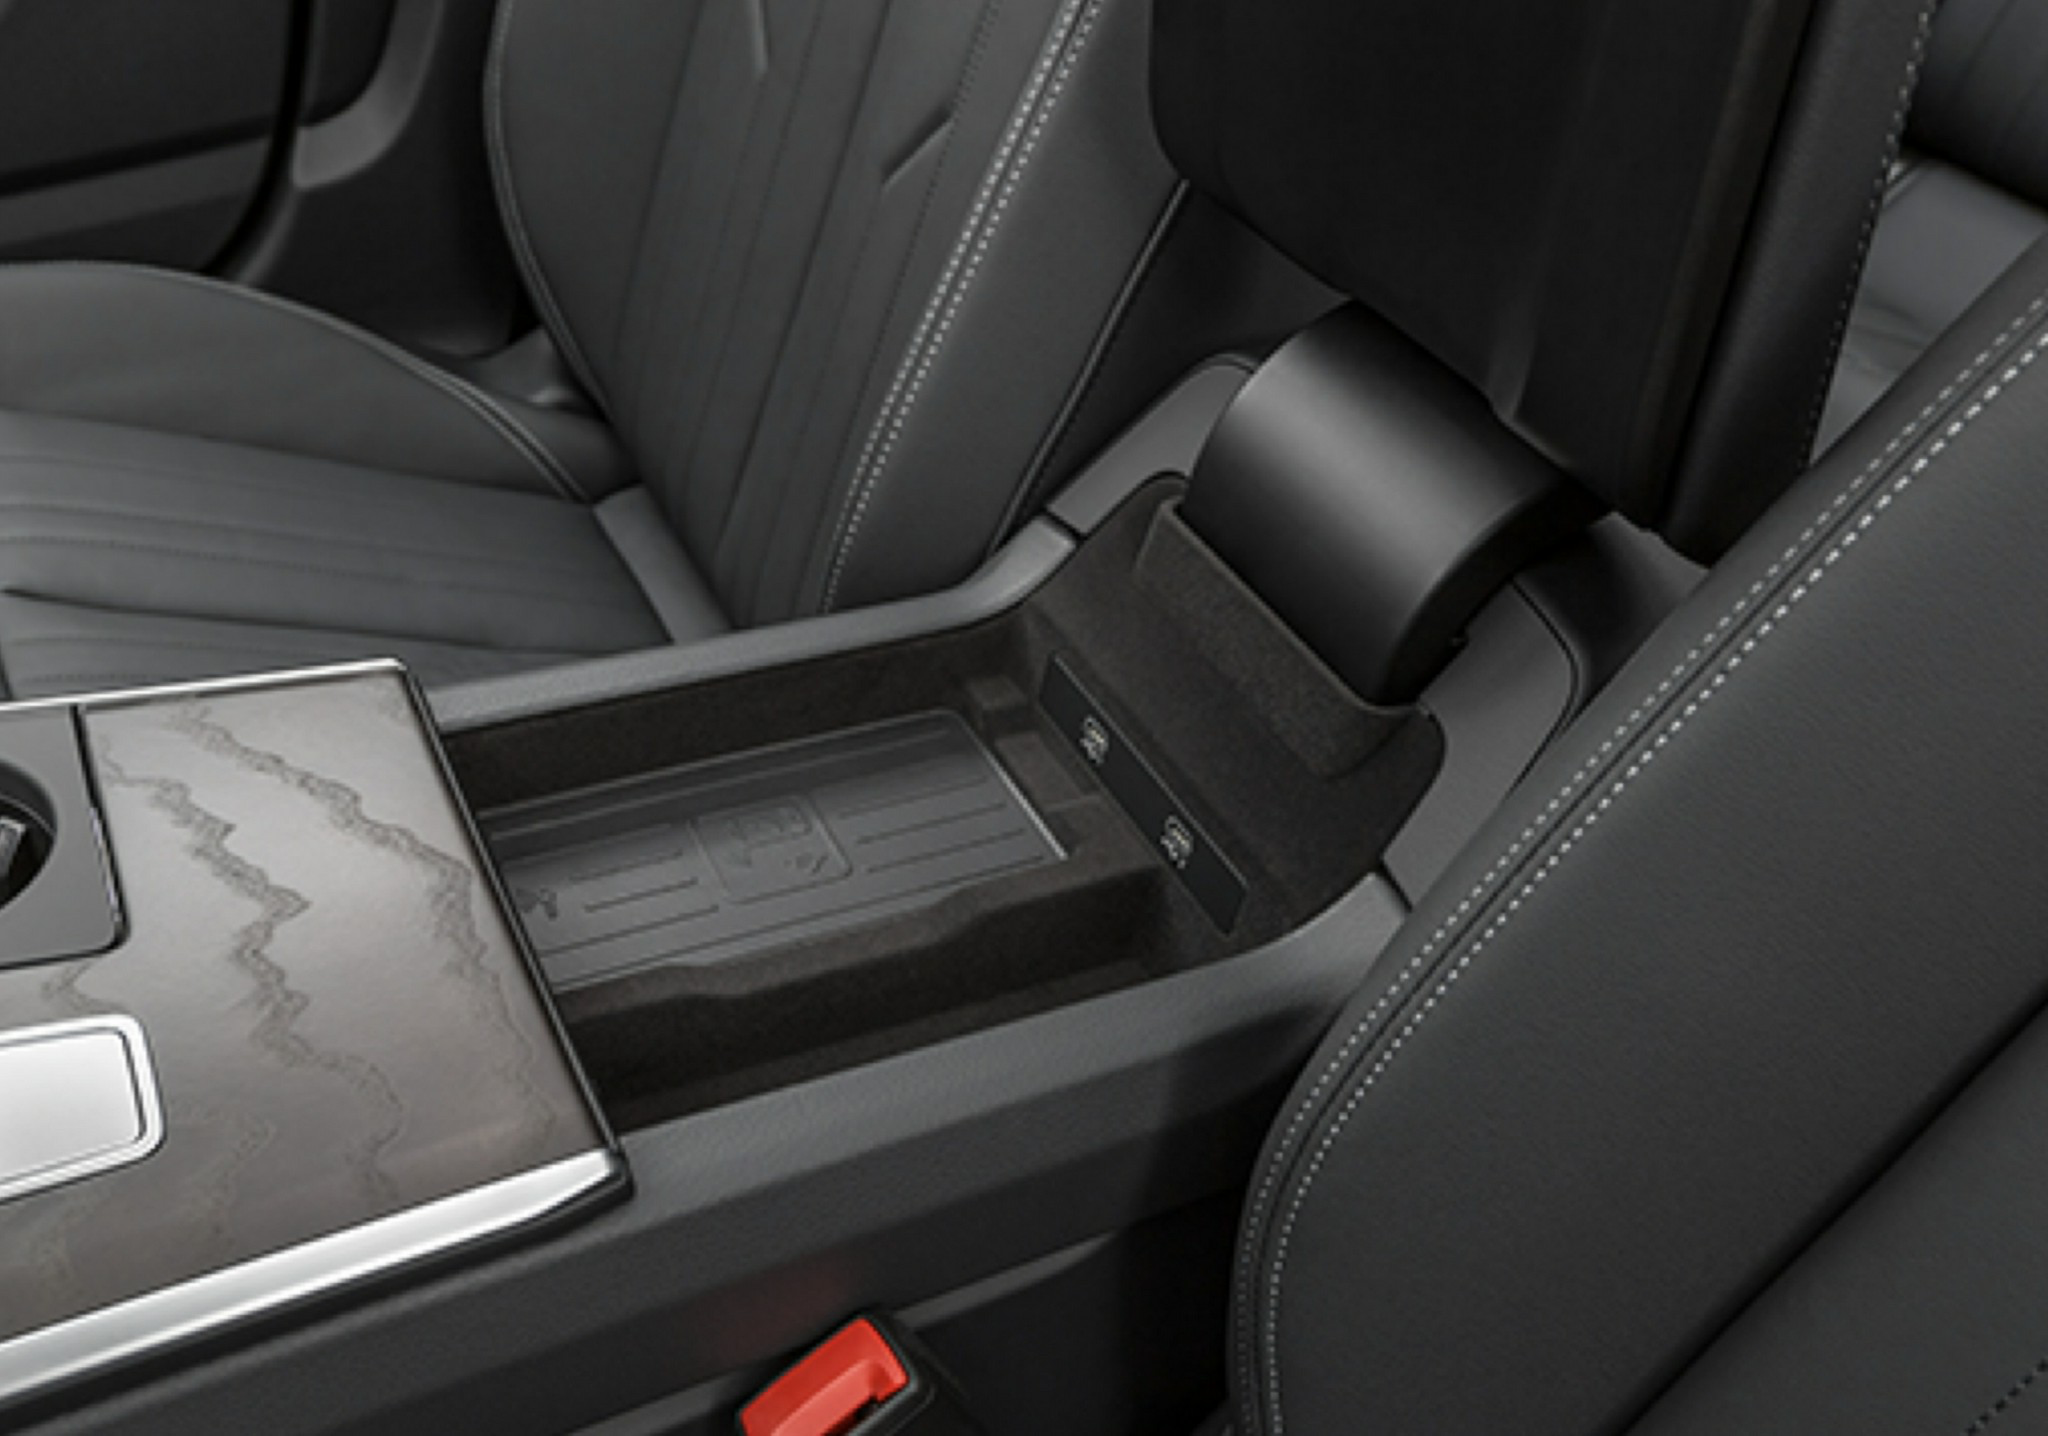
Luckily, the center console has two USB-C ports so that I can charge my phone there. But what if I could design a MagSafe charger case/insert that would perfectly fit?
In my next blog post, I'll share how I designed and prototyped a working version of this idea and 3D printed the case. Stay tuned.